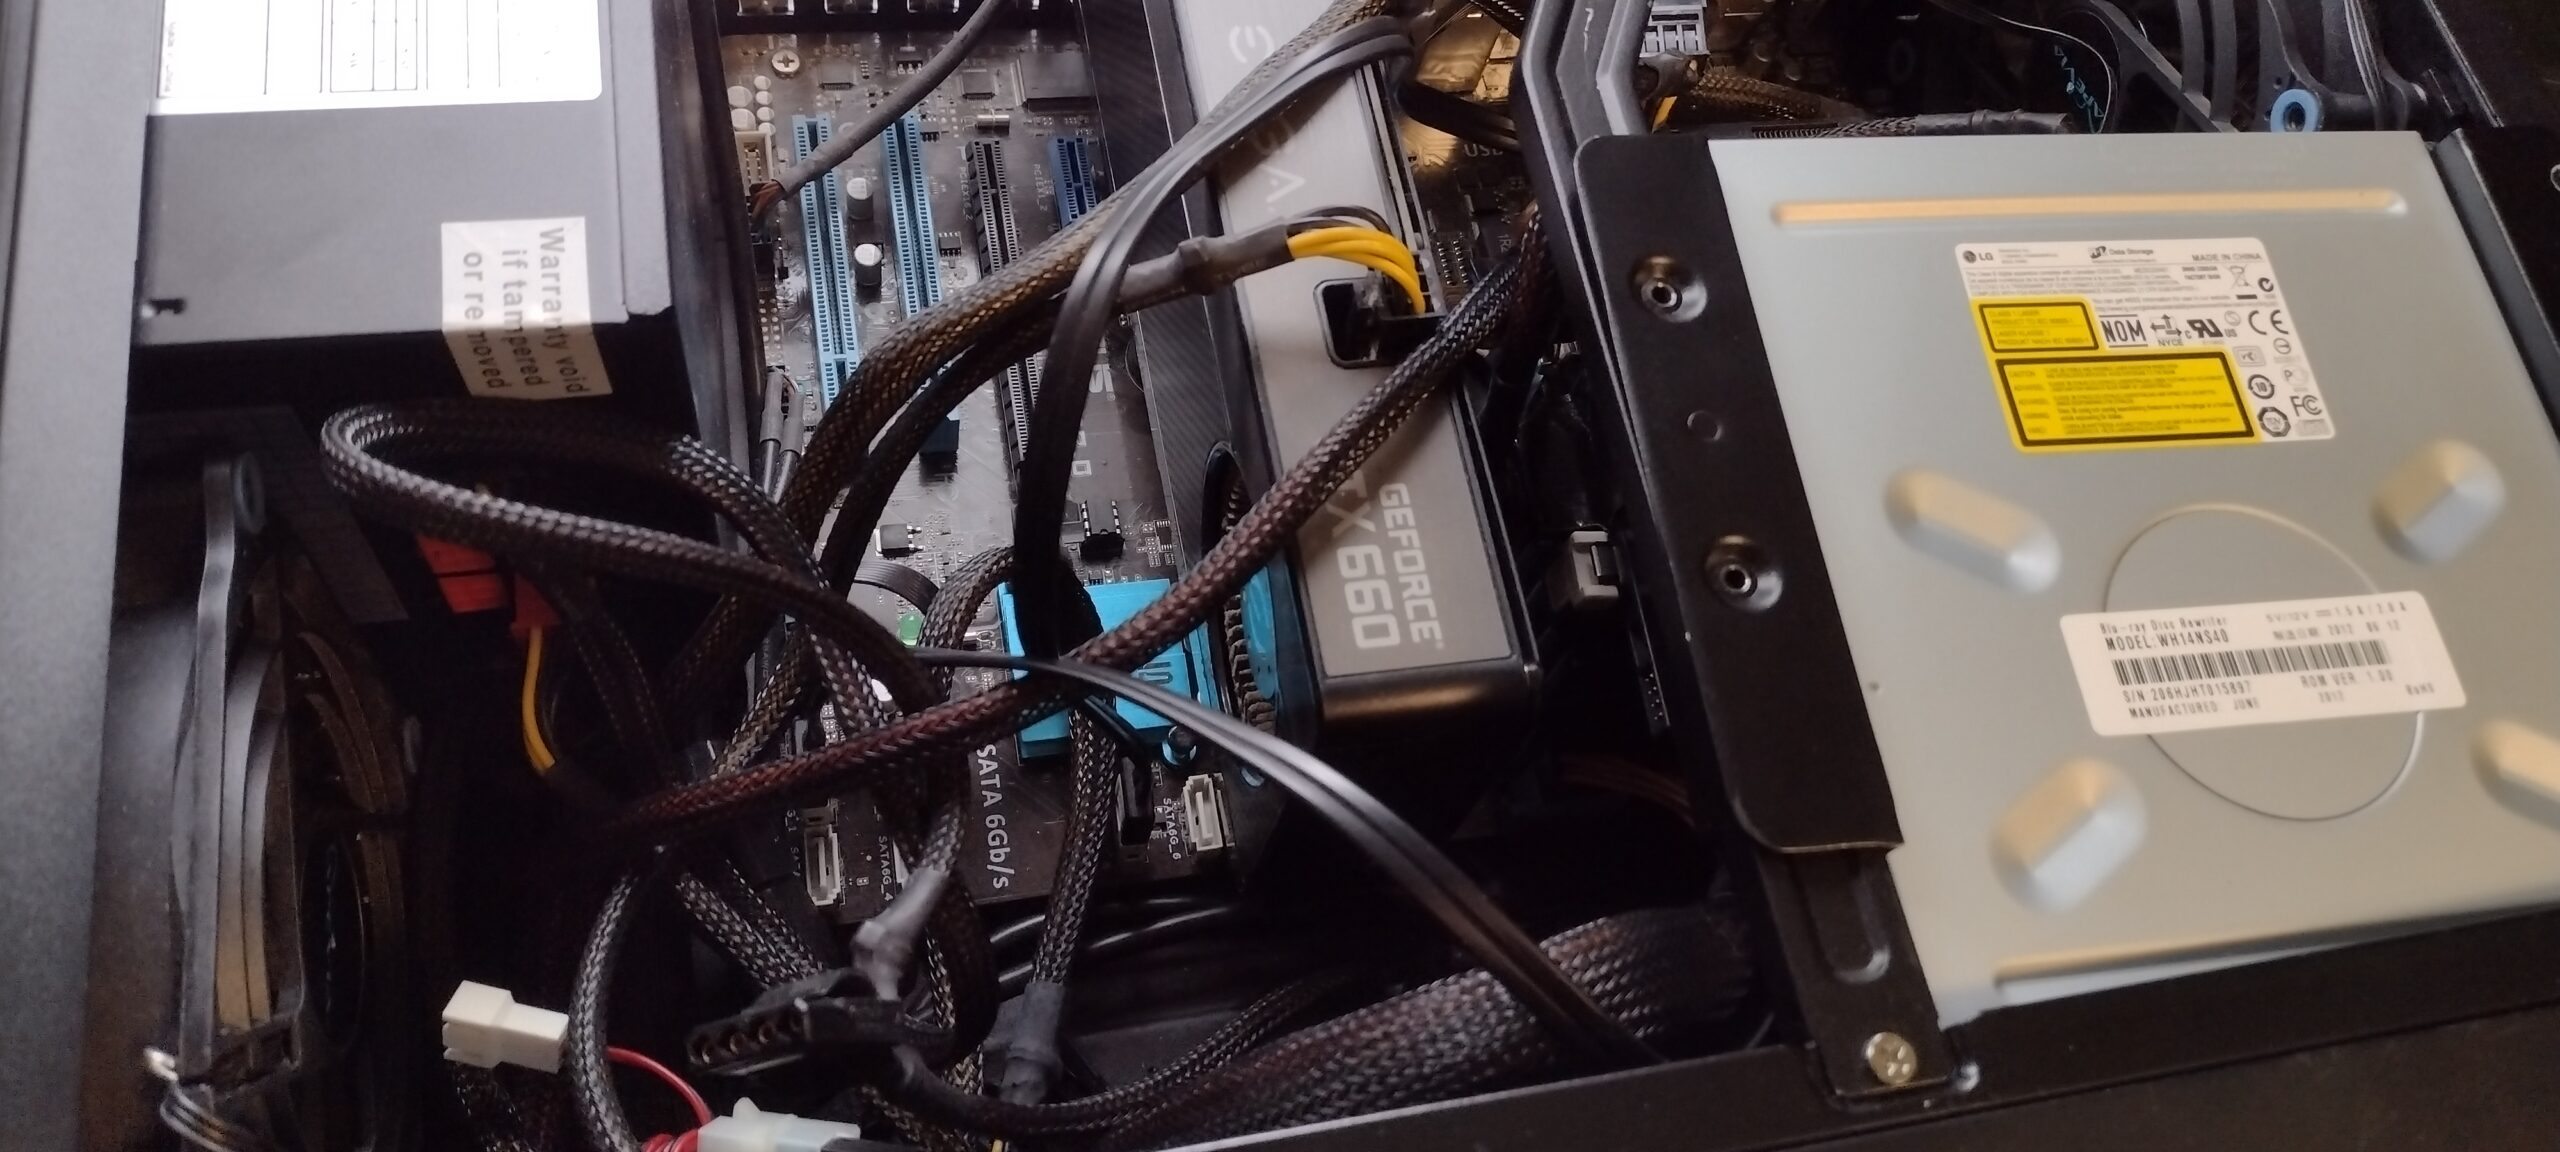
It was a long and arduous night. There I was, in the dim glow of my computer screen, battling the BIOS (on an Asus M5A97 LS R2.0 motherboard, no less), trying to convince it to recognize my new 4TB HDD. The drama unfolded over multiple attempts, frustrating reboots, and more than a few muttered curses. But alas, the beast was tamed, and I was victorious. The culprit? The SanDisk SSD boot disk was causing the HDD to be hidden. With no patience left, I cast aside the SanDisk (may it rest in peace), I wiped the sweat from my brow and proceeded to install Linux Mint and the now see-able 4TB HDD. I am ready to begin the next chapter of my digital adventure—setting up a permanent 4TB Plex Media Server. And so, here we are, dear reader, with all the details you need to know if you too want to join the world of seamless media streaming with Plex – and Linux Mint!
How to Set Up a 4TB Plex Server on Linux Mint
After battling with BIOS and unreliable hard drives, I finally had everything in place to create the ultimate media streaming machine. Here’s how I did it:
1. Updating Your System
First things first, make sure your system is up-to-date. Run these commands in the terminal:
sudo apt update && sudo apt upgrade
2. Installing Required Packages
To install Plex, you’ll need a few essential packages. Type this in the terminal:
sudo apt install dirmngr ca-certificates software-properties-common apt-transport-https curl -y
3. Importing the Plex APT Repository
Next, we’ll add Plex’s official APT repository. Start by importing the Plex GPG key:
curl -fsSL https://downloads.plex.tv/plex-keys/PlexSign.key | gpg --dearmor | sudo tee /usr/share/keyrings/plex.gpg > /dev/null
Then, add the Plex repository:
echo deb [signed-by=/usr/share/keyrings/plex.gpg] https://downloads.plex.tv/repo/deb public main | sudo tee /etc/apt/sources.list.d/plexmediaserver.list4. Installing Plex Media Server
Now, let’s install Plex itself:
sudo apt update
sudo apt install plexmediaserver -y
During the installation, you might be prompted about repository list replacement—just type “N” to continue and proceed with the install.
5. Starting Plex and Enabling Auto-Start
Plex should start automatically, but let’s make sure everything is running smoothly:
systemctl status plexmediaserver
sudo systemctl start plexmediaserver
sudo systemctl enable plexmediaserver
6. Accessing the Plex Web Interface
Now comes the fun part: the configuration. Open your browser and go to:
http://127.0.0.1:32400/web
This is where you’ll set up your Plex server, add your media libraries, and start enjoying your 4TB of streaming goodness!
And there you have it—after an adventurous few days spent wrangling with hardware, software, and a lot of trial and error, my 4TB Plex Media Server is up and running. Who needs cable when you can stream your own content from the comfort of your home? With Linux Mint, Plex, and a little bit of determination, I’ve created a media empire in my own living room. Now, if only I could find a way to stream movies to my refrigerator…


Leave a Reply